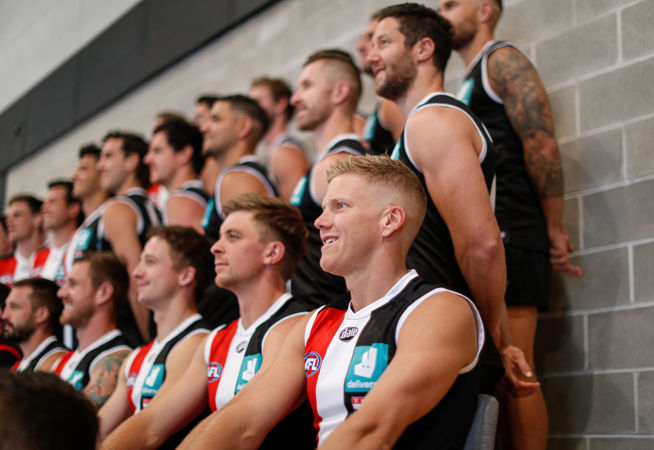
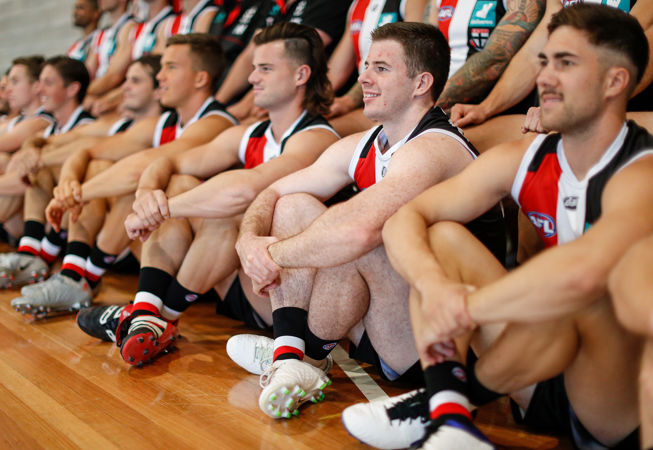
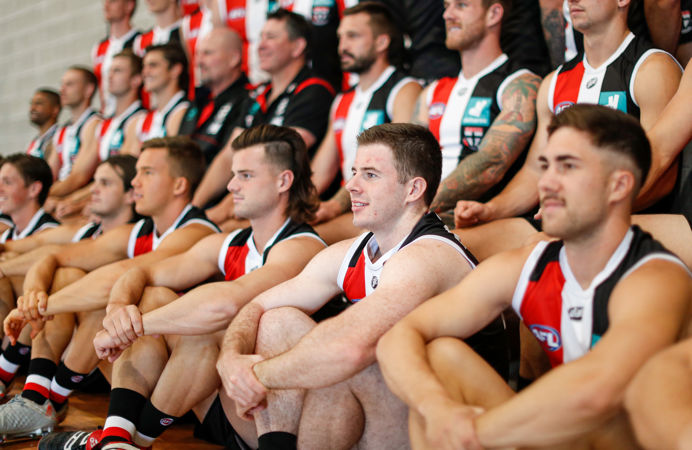
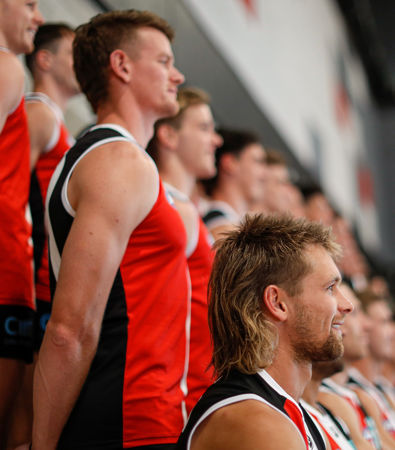
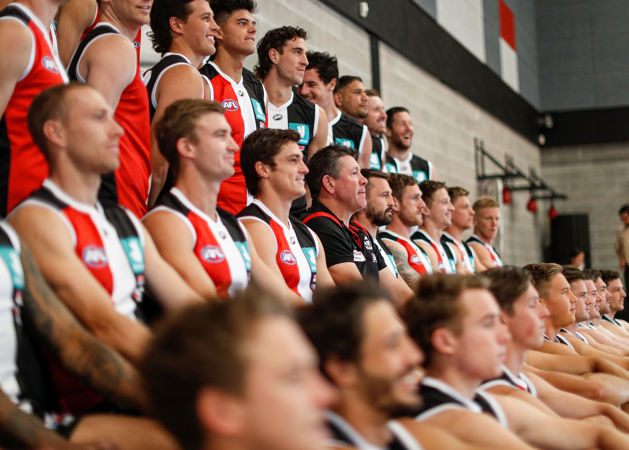
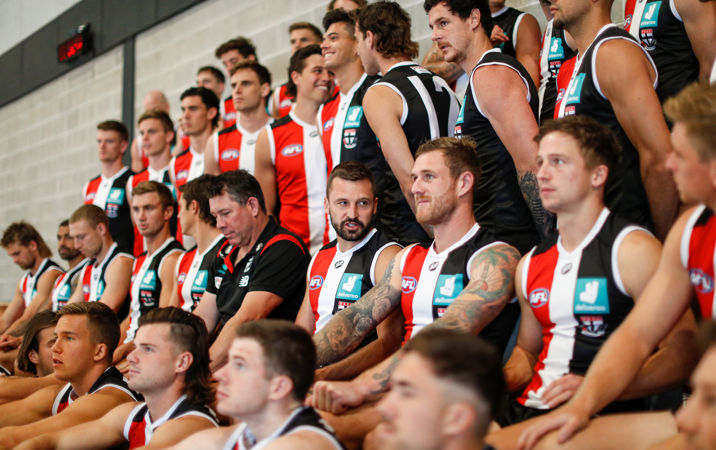
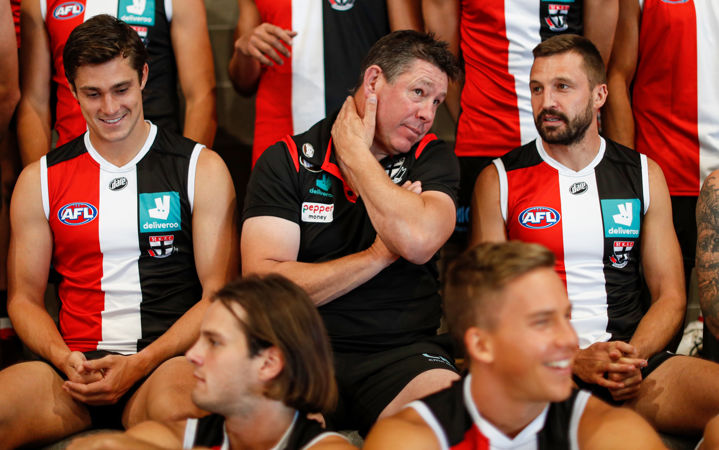
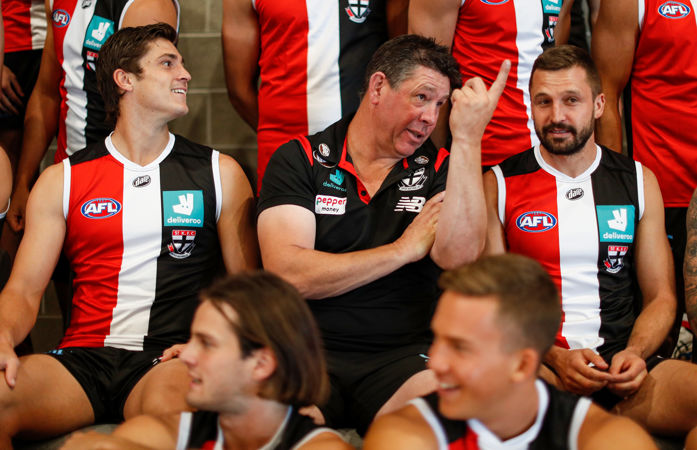
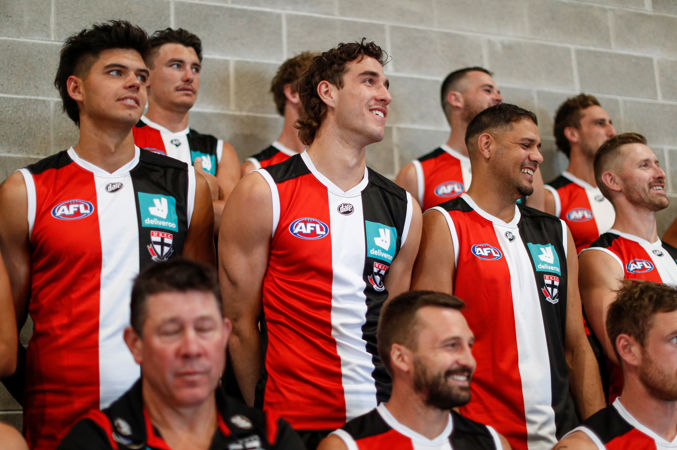
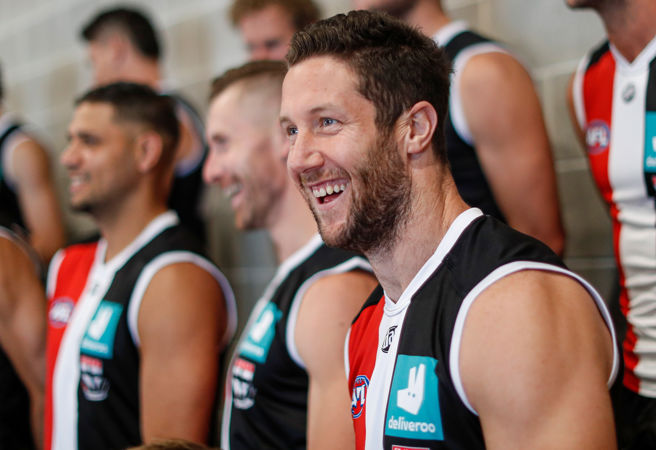
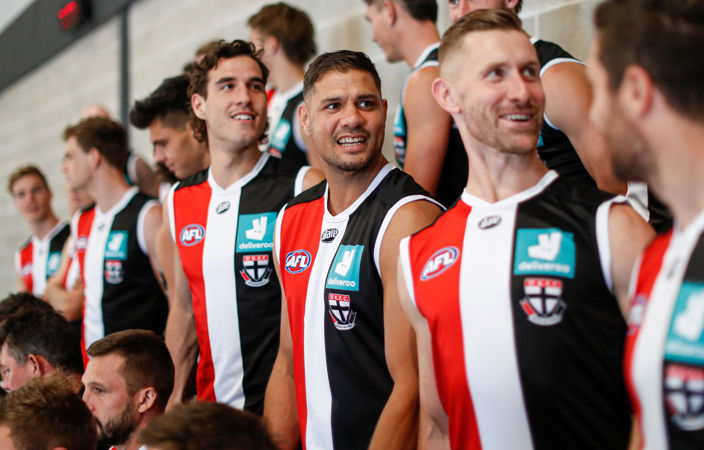
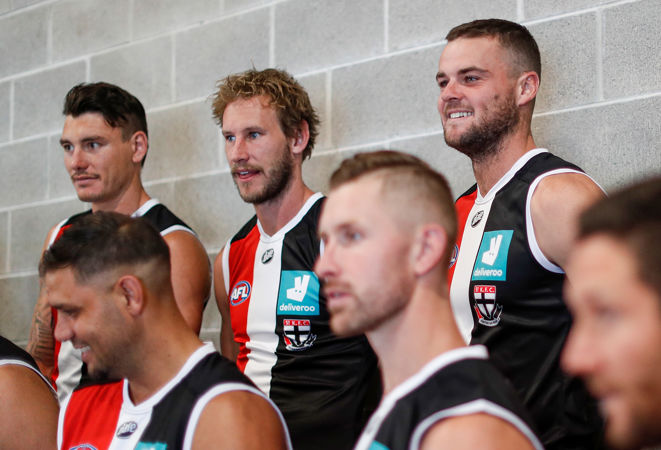
AFL 2021 Media - St Kilda Team Photo Day
MELBOURNE, AUSTRALIA - FEBRUARY 23: (L-R) Jack Steele of the Saints, Brett Ratten, Senior Coach of the Saints and Jarryn Geary of the Saints look on during the St Kilda Saints 2021 Official Team Photo Day at RSEA Park on February 23, 2021 in Melbourne, Australia. (Photo by Michael Willson/AFL Photos)